Getting Started with Sewing: Setting the Foundation for a Perfect Sewing Project
"Welcome to the world of sewing, where creativity and craftsmanship come together to bring your vision to life! Whether you are an experienced seamstress or a novice with a passion for creating beautiful garments, there are essential steps and practices to follow to ensure your sewing projects turn out just the way you envision them."
In this article, we will explore some crucial pre-sewing tips and tricks that can make a significant difference in the final outcome of your creations. From washing and ironing your fabric to mastering the art of pattern cutting and selection of the right materials, each step plays a vital role in achieving a polished and professional look.
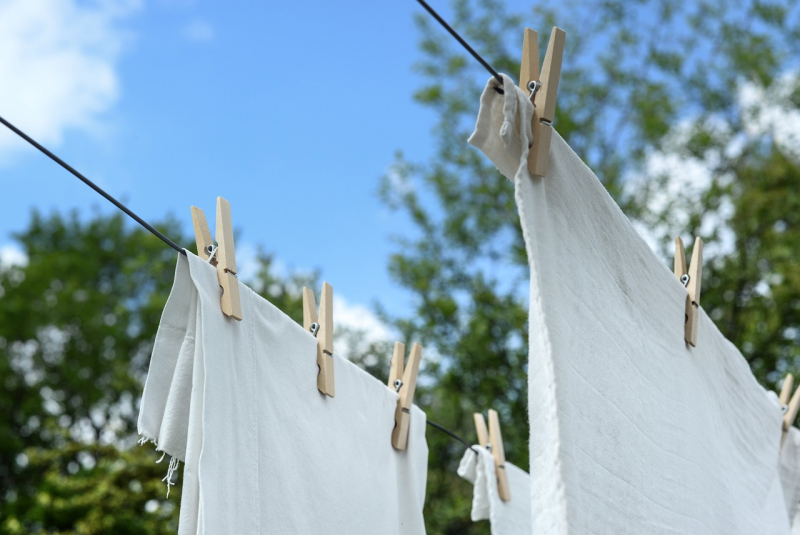
The Importance of Pre-Washing Fabric Before Sewing
One crucial step often overlooked is the pre-washing of fabric before beginning the sewing process. Neglecting this step can lead to unexpected consequences, including shrinking fabric, which can compromise the fit and appearance of your meticulously crafted garments. This is a smart idea because some material will shrink after it has been washed. Fabrics like cotton and cotton blends are notorious for their propensity to shrink when exposed to water and heat. By subjecting your fabric to a pre-wash, you allow it to shrink before it's incorporated into your project. This ensures that your final creation retains its intended size and fit even after subsequent washes.
Pre-washing grants your fabric the opportunity to settle into its natural state, eliminating any residual tensions from the manufacturing process. This promotes dimensional stability, meaning your fabric won't warp or distort after sewing, maintaining the structural integrity of your garment.
Beyond shrinkage, pre-washing also helps reveal any potential issues with color bleeding or fading. Some fabrics may release excess dye during the first wash, which could affect the overall appearance of your finished piece. Identifying and addressing such concerns beforehand can save you from disappointment and allow you to take appropriate measures to preserve the vibrancy of your fabric.
While this does help prevent most shrinking, it will not completely eliminate the possibility.
"I recently completed a pattern by McCalls using a polyester blend material. I washed the material as soon as I got home from the fabric store, but despite my efforts, the finished dress shrank about two sizes when I washed it the first time."
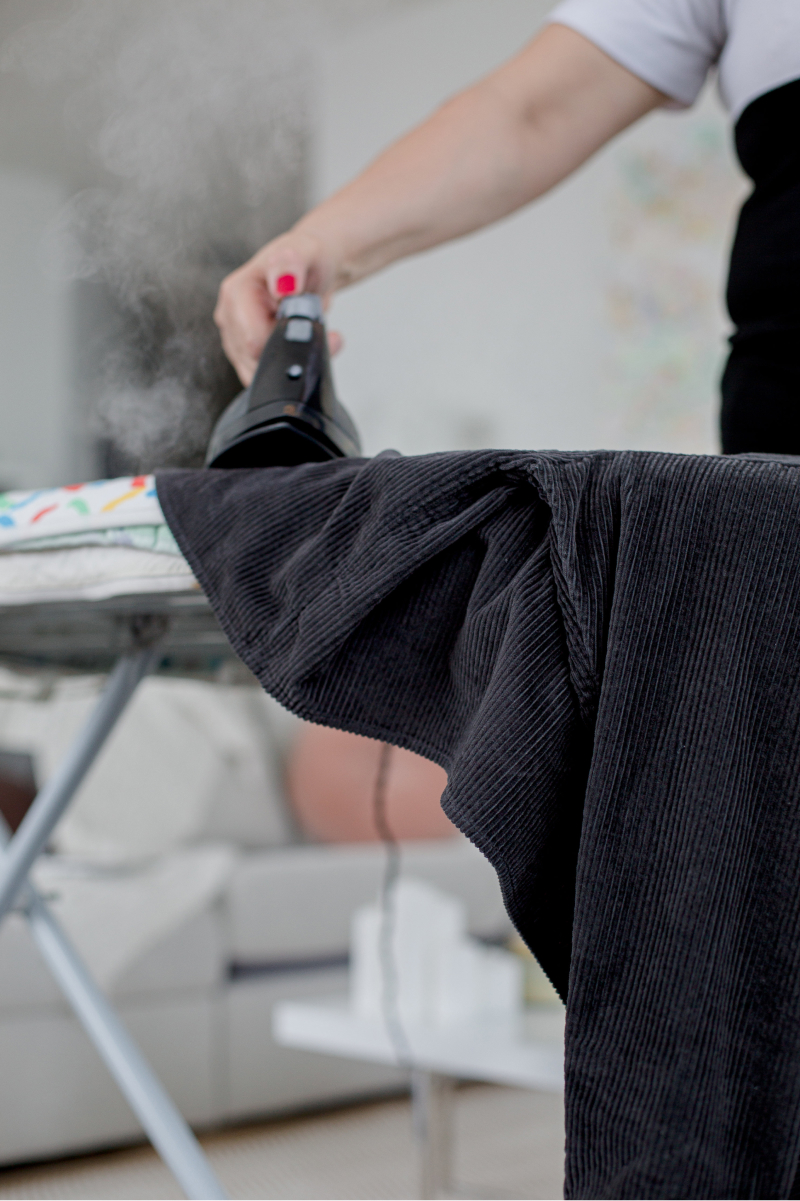
Properly Ironing Fabric and Pattern Pieces
It is a good practice to iron your material before you use it so that the material will not be cut in weird and wonky shapes but will ensure accurate cuts, smooth seams, and an overall polished outcome.
Before your sewing scissors even make their first cut, the simple act of ironing fabric can set the stage for a flawless creation. This preparatory step not only smooths out wrinkles and creases but also ensures that your fabric lays flat and behaves predictably, allowing you to achieve the precise cuts and stitches your project demands.
Enhancing Pattern Accuracy
Fabric that has been properly ironed conforms more faithfully to pattern templates. This accuracy translates into more consistent and professional-looking finished products. You can start by ironing the pattern pieces themselves quickly and gently on a low setting but be careful doing this as the pattern pieces are very delicate.
Learning Your Iron's Settings
Irons are versatile tools with multiple heat settings. To avoid any mishaps, take the time to familiarize yourself with your iron's temperature controls. Each fabric type has an ideal ironing temperature; refer to the fabric's care instructions and adjust your iron accordingly.
This diligence prevents mishaps and ensures your patterns remain intact.
"One time I was working with lace. I did not read instructions properly and ended up melting the lace as I was trying to iron out a seam. Ensure that you set the temperature of the iron based on the type of material you are using."
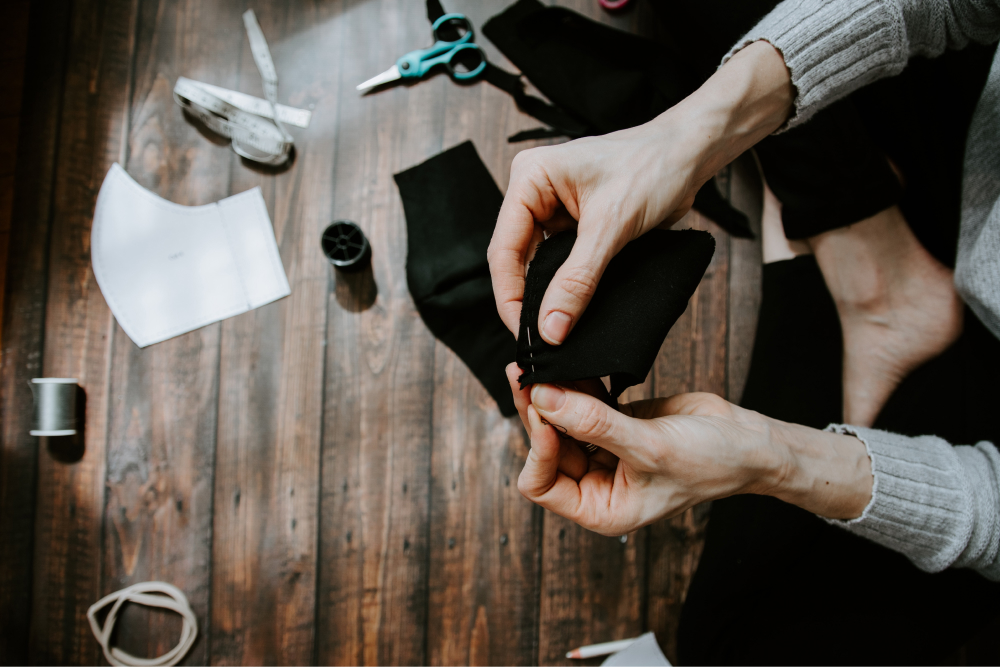
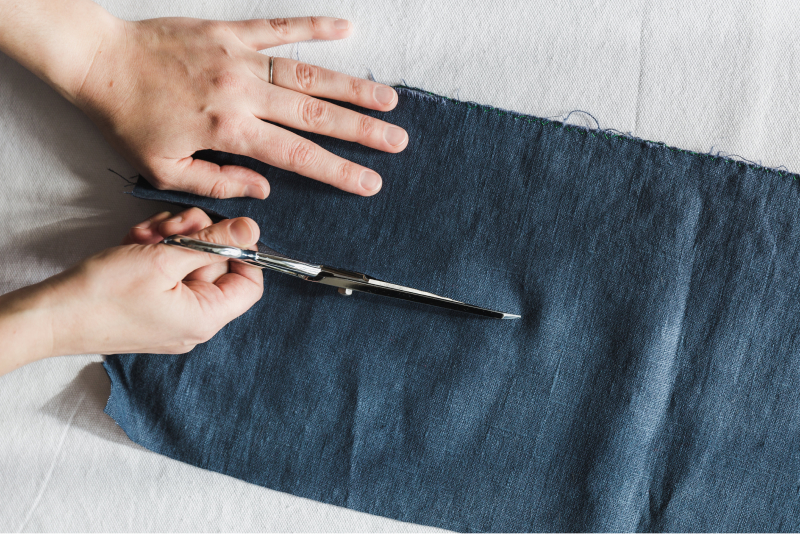
Precision in Pattern Layout and Cutting
One crucial phase that significantly impacts the outcome of your sewing project is the process of laying out material to cut pattern pieces. We explore the nuances of this essential step, from achieving the perfect fold to working with stretchy fabrics, culminating in the meticulous arrangement and pinning of pattern pieces for flawless results.
Achieving the Perfect Fold: "The Hotdog Style Fold"
When preparing your fabric for pattern layout, following the recommended instructions to fold the material in half is your first step toward precision. This commonly involves what is known as the "hotdog style" fold. In this fold, the selvages, the finished edges of the fabric, are brought together, leaving one edge folded over and the other edges with the selvages aligned.
Orienting the Fabric and Ensuring Flatness
To ensure a well-organized layout, consider positioning the right side of the material on the inside of this fold. By doing so, the wrong side of the fabric will be exposed on the surface you'll be cutting, allowing you to maintain a clear visual reference of the pattern pieces.
The key to accurate pattern cutting lies in maintaining a flat and unwrinkled fabric surface. Take care to ensure that the folded edge is laying flat, without any creases or unevenness. Failing to do so could lead to warped or misshapen pattern pieces, ultimately affecting the fit and appearance of your final product.
Navigating Stretchy Fabrics
When working with stretchy fabrics, such as knits, the challenge lies in getting the material to lay properly and stay in place during cutting. To address this, consider sporadically inserting pins throughout the material once it's lined up. These pins serve as anchors, preventing the fabric from shifting or stretching excessively as you handle it.
Place the pins with care, ensuring they hold the fabric's shape and position without causing distortion. Opt for a balance between securing the fabric and preventing any puckering or pulling that could lead to inaccurate cuts. Strategically spaced pins act as your allies in managing the unique characteristics of stretchy materials.
Measure twice, cut once
In the realm of sewing, the adage "measure twice, cut once" stands as a timeless mantra that encapsulates the essence of precision and careful craftsmanship. This practice serves as a steadfast reminder to take deliberate steps before making that crucial cut, ensuring that your fabric transforms into flawlessly tailored pieces. In this section, we delve into the art of measuring, marking, and cutting fabric, with an emphasis on double-checking measurements, utilizing notch indicators, and adopting techniques to safeguard against over-cutting.
The Measure Twice Principle
Embarking on a sewing project requires meticulous attention to detail. Before you even think about picking up your scissors, take a moment to double-check your measurements and pattern piece placement. This fundamental step not only minimizes errors but also sets the stage for a successful sewing experience. Aligning the measurements with the pattern's requirements ensures that your fabric investment is utilized optimally and your project progresses smoothly.
Uncertainty about measurements is a common sewing challenge. To mitigate this, consider cutting slightly more fabric than you initially think you need. This cautious approach allows room for adjustments and corrections without the hassle of trying to salvage insufficiently cut pieces. Remember, it's easier to trim excess material than to remedy under-cut fabric.
Understanding Notch Indicators
Pattern pieces often include notch indicators—small triangles or markings that serve as guides for aligning and joining different fabric sections. These indicators play a pivotal role in ensuring accurate seams and proper assembly. Matching notches correctly contributes to a seamless sewing process and a polished final result.
If you're hesitant about trimming too close to the seam allowance, consider a technique that provides a bit more breathing room. Cut the notch triangles so that they protrude slightly beyond the seam allowance. This subtle adjustment grants you additional ease while sewing, eliminating the fear of inadvertently trimming too far into the seam allowance and compromising your pattern's accuracy.
Tip: "Because I’m nervous about trimming too much material off, I will cut a triangle so that its protruding, this just gives me a little more ease when I’m sewing. I don’t have to worry about cutting a triangle too far into the seam allowance."
Practical Tips!
Marking and Alignment: Before cutting, mark your fabric meticulously using tools like tailor's chalk or fabric markers. These markings serve as guides for precise cutting and assembly. Additionally, ensure that your pattern pieces align correctly along grain lines, ensuring the fabric's optimal drape and appearance.
Patience and Care: Approach the cutting process with patience and care, allowing your scissors to glide smoothly and evenly through the fabric. A steady hand and unhurried pace contribute to clean, accurate cuts, resulting in pattern pieces that seamlessly fit together during sewing.
Precision in cutting is the cornerstone of successful sewing endeavors. By embracing the "measure twice, cut once" philosophy, you infuse intentionality into each snip of the scissors. Double-checking measurements, understanding notch indicators, and adopting techniques to ensure precise cuts all contribute to the creation of meticulously crafted garments.
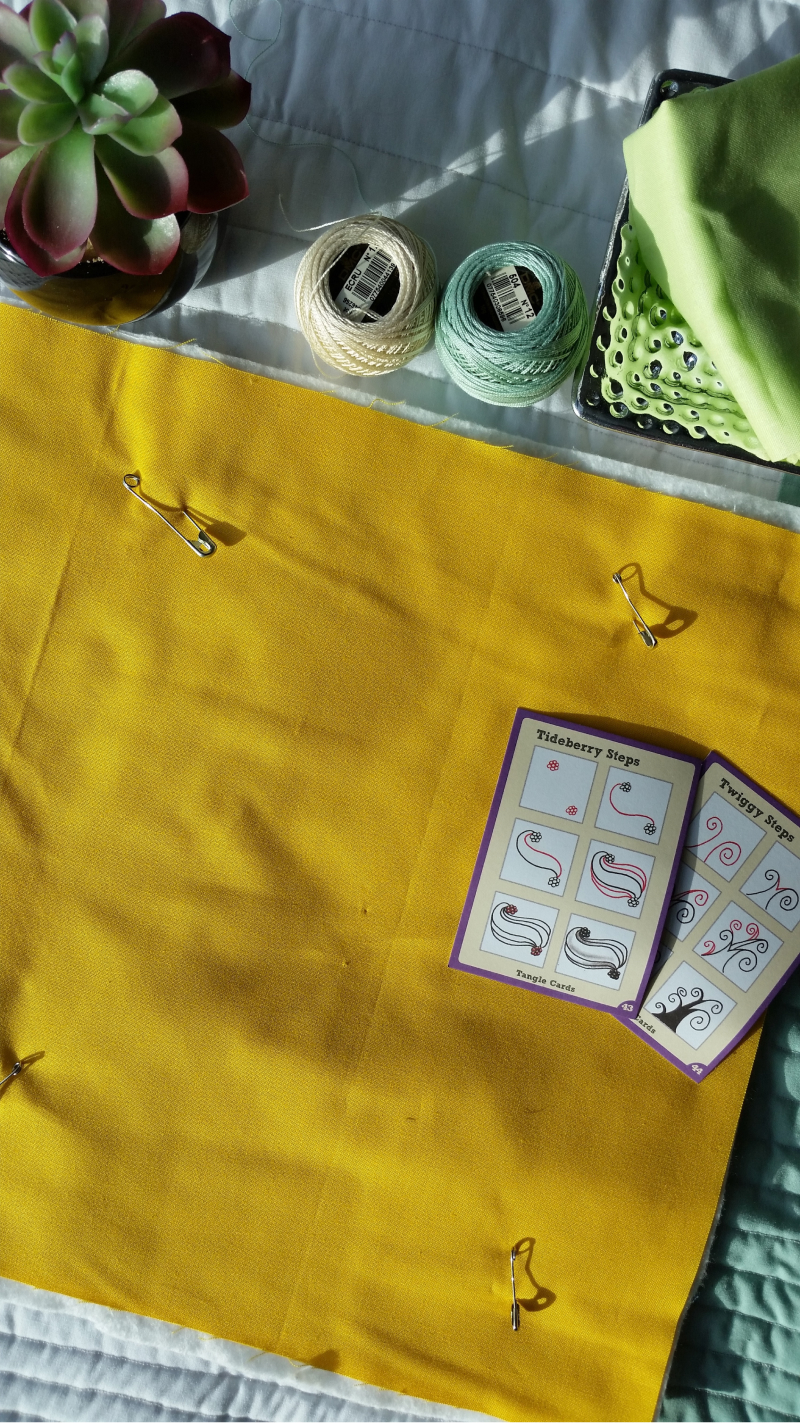
Picking out proper tools and materials
One aspect that demands unwavering attention is the selection of essential notions and materials. In this section, we explore the critical importance of choosing the right thread, sewing machine needle, and other notions required by your pattern. These seemingly small decisions play a pivotal role in ensuring your sewing project's success and the longevity of your creations.
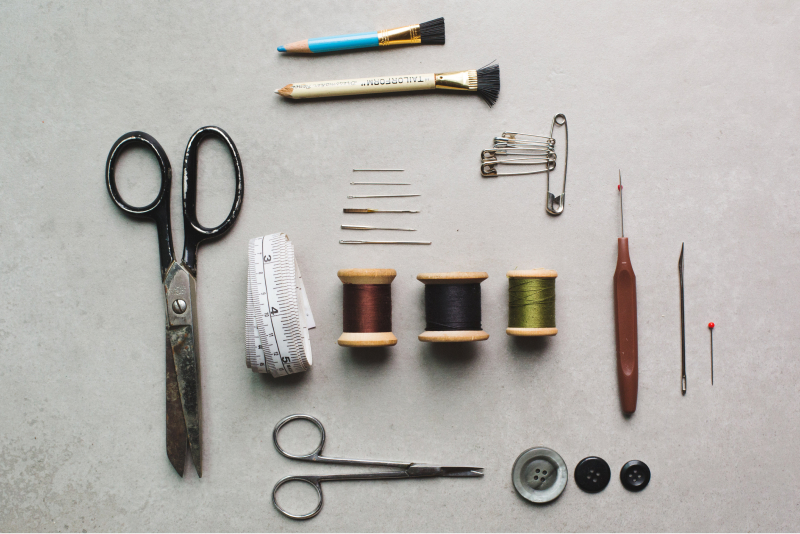
The Notion of Notions
The thread you choose is more than just a functional element; it is the backbone of your seams and stitches. When following a pattern, make sure to meticulously select the thread color and type recommended. Threads come in various materials, each suited for specific fabrics and applications. Opting for the correct thread guarantees durable and visually appealing results.
Beyond thread, your sewing journey requires an array of notions, from buttons and zippers to interfacing and elastic. Your pattern will outline these essential components, each contributing to the functionality and aesthetic of your finished piece. Selecting the right notions ensures that your project is not only structurally sound but also aligned with your design vision.
Choosing Sewing Machine Needles
Sewing machine needles are often underestimated heroes of the sewing process. The type and size of the needle significantly impact how smoothly your machine stitches through different fabrics. To avoid frustration and ensure clean results, heed your pattern's advice on the appropriate needle for the material you're working with.
Thicker fabrics like denim, canvas, or upholstery require a sturdier needle to penetrate through multiple layers. A heavy-duty or denim needle is your ally in sewing through challenging materials, allowing your machine to effortlessly glide through and create strong, even stitches.
Navigating Specific Material Challenges
Working with thicker materials presents its own set of challenges. When dealing with denim, canvas, or similar fabrics, not only does your choice of needle matter, but also the type of thread and the adjustments you make to your sewing machine's tension. Experimenting with different thread and needle combinations will ensure your machine can handle the demands of heavier fabrics.
Thicker materials necessitate a generous seam allowance. This extra space accommodates the layers of fabric, ensuring that your stitches remain secure and your finished piece maintains its structural integrity. When cutting your fabric, be mindful of this allowance, and when sewing, focus on maintaining consistent stitching within the prescribed seam allowance.
The success of your sewing endeavors lies in the careful consideration of every detail, no matter how seemingly insignificant. The selection of the right thread, sewing machine needle, and other notions is a testament to your dedication to quality craftsmanship. By adhering to your pattern's recommendations and understanding the unique challenges posed by different fabrics, you position yourself for sewing success.
Conclusion
In the realm of sewing, creativity and craftsmanship intertwine to bring your visions to life. Whether you're a seasoned pro or a budding enthusiast, these pre-sewing tips are the keys to success.
Starting with fabric, pre-washing is a must. Shrinking can compromise your project, especially with materials like cotton. Precision is paramount—measure twice, cut once. It's easier to trim excess fabric than to add it later.
Properly ironing fabric ensures accurate cuts and seamless seams. Understanding notch indicators aids in perfect pattern alignment. When working with stretchy fabrics, pins are your allies in maintaining accuracy.
Notions matter too. Thread choice impacts your seams and stitches, and using the recommended thread type is crucial. Sewing machine needles are unsung heroes—choose the right one for your fabric type.
Embrace these pre-sewing practices, and watch your projects transform into creations that showcase your skills and passion. Each stitch becomes a brushstroke on your canvas, weaving a narrative of artistry and dedication. Happy sewing!